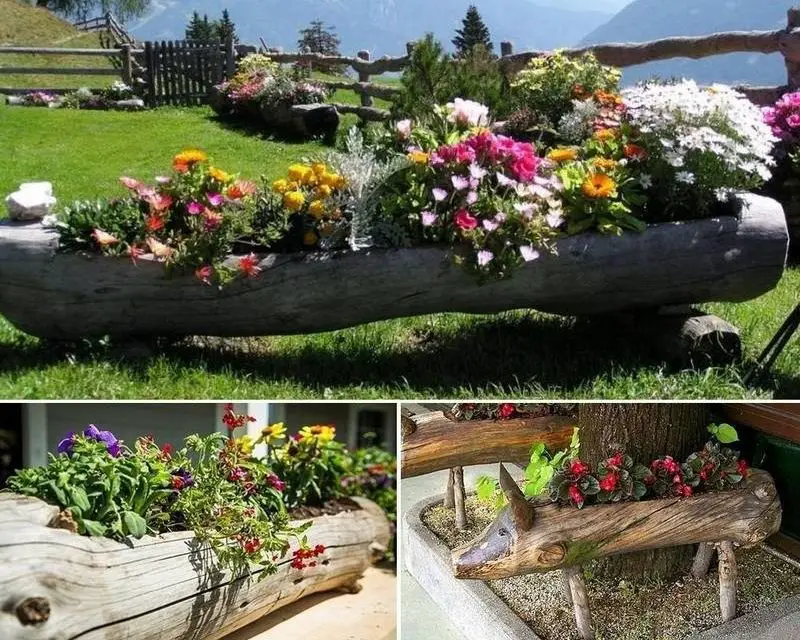
If you're looking to beautify your garden, log planters can add so much personality to any garden, but, unfortunately, they can cost quite a bit if you're buying them from your local hardware store! Fortunately, it's super easy to make your own log planter and that's what we're going to be looking at today: how to make a log planter! Not only will this save you a ton of money, but it's also easy and a really fun weekend project that the whole family will love!
How to Make a Log Planter

Logs make the perfect habitat for nature to grow in because it actually IS all natural! Storms, rain, old age, and powerful waves, can all make tree branches fall down to the ground, and with that, comes an entirely new ecosystem that lives in that log. Moss, insects, plant life, and small animals can all make a new home in a log, and that's why a log planter is such a natural fit…plus it adds a really neat rustic look to your garden!
Log planters make excellent additions to any type of garden and can be transformed into hanging planters, window boxes, cylindrical containers, or even horizontal trough-like planters.
DIY Log Planter:
First, go out and find some logs! You may live in a wooded area where there may be a small forest around. This is a great place to find logs. Or, maybe you have a friend or neighbor who just cut down a tree. Either way, logs are usually pretty easy to come by!
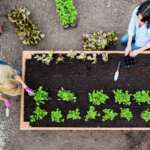
Next, depending on the size of your log, decide what you'd like to plant in it. Some plants will need longer length logs because of their long roots, while other plants, such as succulents, won't need much length at all.
Now decide whether you'd like your log to stand up vertically like a regular planter, or horizontally, like a trough style planter. A trough style planter will give you more length, which will make it perfect for plants with wide roots, while a vertical planter will work for plants with longer roots.
Now that you've decided which way you'd like to set up your log planter, it's time to hollow out the log! Make sure you are comfortable with power tools, and if not, ask a friend or family member to do it for you. You can use a chainsaw, a hammer drill, or wood boring drill bits.
Mark the area where you would like the hollowing out to stop at the sides and at the bottom. Experts recommend leaving 3-4 inches of wood in the bottom of the planter and at least 1-2 inches of wood around the planting space. Drainage holes should also be drilled at the bottom of the log.
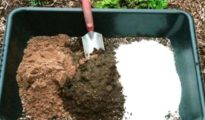
Once your log has been hollowed out, all that's left to do is fill it with potting soil and your choice of plants, flowers, or even vegetables!
So now that you know how to make a log planter, it's time to get out there and beautify that garden!
Like this post? Share and Pin 🙂


