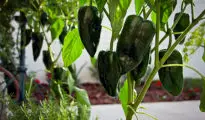
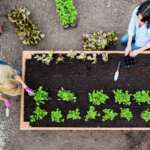
Black eyed peas are a summer staple that every gardener must grow! They're so easy to grow in fact, that black eyed peas are definitely recommended for beginner gardeners. What's even better is that black eye peas can be harvest at almost any stage, and they're a hearty, vitamin-packed legume your whole family can enjoy. Today we'll teach you how to grow black eyed peas in your garden with our easy to follow gardening guide!
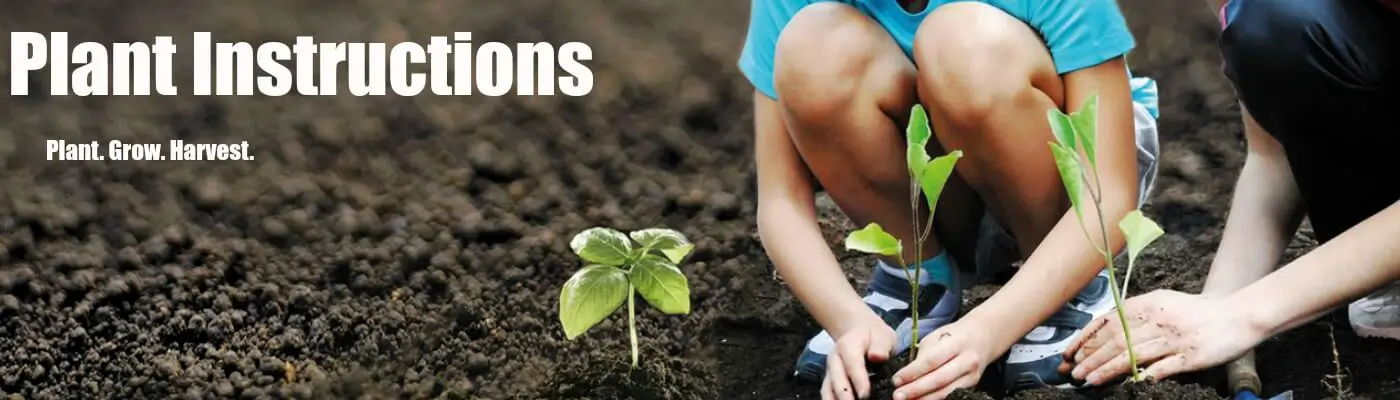
How to Grow Black Eyed Peas in Your Garden

Planting Black Eyed Peas:
- You can begin planting your black eyed peas once the soil is workable and at least 65F.
- Choose a location that will receive full sun – at least 8 hours a day.
- If possible, purchase seeds that are labeled “wilt-resistant” to avoid any type of disease.
- Plant each seed 1-1 1/2 inches deep, 2-4 inches apart, and in rows spaced 2 1/2 to 3 feet apart.
- Make sure soil is rich and moist.
- Rotate crop every three to five years for best production and to ward off any possible diseases.
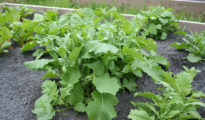
Caring for Black Eyed Peas:
- Black eyed peas are pretty self sufficient and only require water when it rains. Only water if rain is scarce.
- Fertilizer should be limited.
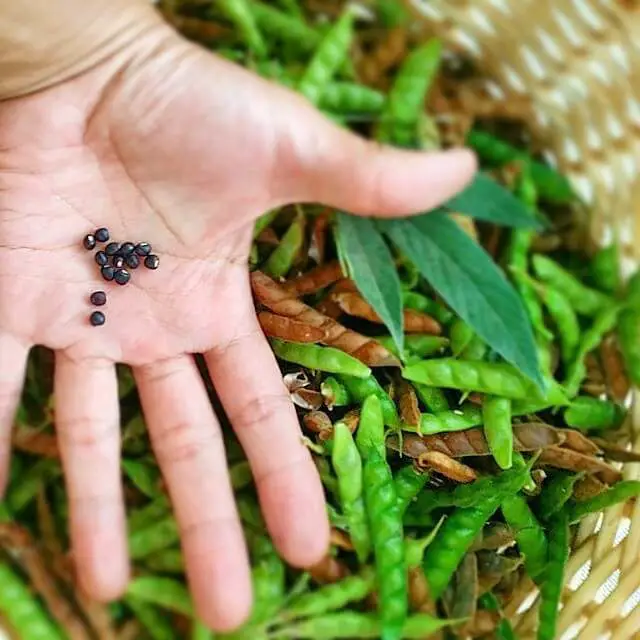
Harvesting Black Eyed Peas:
- Depending on the variety of black eyed peas you purchased, they should be ready for harvest within 60-90 days.
- For young, tender snaps, harvest before maturity.
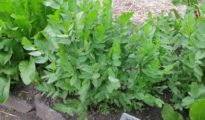
- Leaves are also edible while in the younger stages (before maturity) and can be used in the same manner as spinach.
Now that you know how to grow black eyed peas, it's time to roll up our sleeves and get to planting!
Happy Planting!


